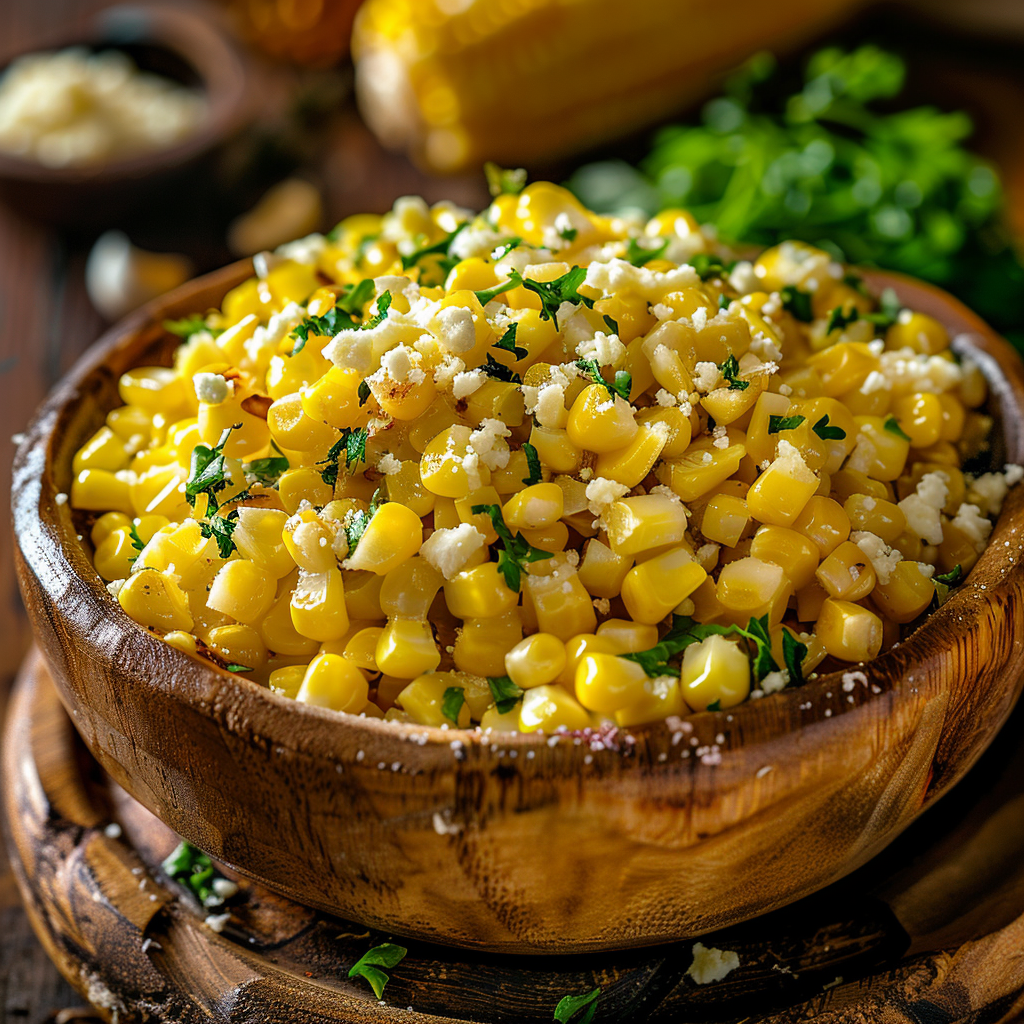
Garlic Butter Corn on the Cob is a cherished classic, a simple yet incredibly delicious way to enjoy the sweet, tender kernels of summer corn. This recipe is all about bringing out the natural goodness of fresh corn with the savory richness of butter and the subtle kick of garlic. It’s the kind of comforting side dish that brings smiles to the table, perfect for barbecues, holiday meals, or just a weeknight dinner when you want something easy and satisfying. You’ll love how quickly it comes together, making it a go-to choice for busy cooks who want homemade flavor without the fuss.
Why This Recipe Works
This Garlic Butter Corn on the Cob recipe works because it focuses on simple, quality ingredients that truly shine. The sweetness of the corn pairs beautifully with the creamy, melted butter, and the garlic adds a wonderful savory depth that isn’t overpowering. It’s a harmonious blend of flavors and textures that is universally loved. This recipe is also incredibly forgiving and easy to adapt, making it perfect for cooks of all skill levels, just like the recipes we remember from childhood.
The beauty of this dish lies in its simplicity. By letting the corn be the star, enhanced by just a few pantry staples, you get a side that complements almost any main course. Whether you’re serving grilled chicken, roasted meats, or a hearty stew, this garlic butter corn adds a touch of wholesome goodness that rounds out the meal perfectly. It’s a testament to how a few well-chosen ingredients can create something truly special and comforting.
Recipe Overview
| Prep Time | 10 minutes |
|---|---|
| Cook Time | 15-20 minutes |
| Total Time | 25-30 minutes |
| Servings | 6 |
| Difficulty | Easy |
| Category | Side Dish |
| Cuisine | American, Homemade |
| Best For | Summer Picnics, Family Dinners, Barbecues |
Ingredients
The ingredient list for this classic Garlic Butter Corn on the Cob is wonderfully short, emphasizing fresh, high-quality components.
| Ingredient | Quantity | Notes |
|---|---|---|
| Corn on the cob | 6 ears | Fresh, in season preferred |
| Unsalted butter | 1/2 cup (1 stick) | Softened |
| Garlic | 3-4 cloves | Minced |
| Salt | 1/2 teaspoon | Or to taste |
| Black pepper | 1/4 teaspoon | Freshly ground, or to taste |
| Fresh parsley or chives (optional) | 2 tablespoons | Chopped, for garnish |
| Grated Parmesan cheese (optional) | 1/4 cup | For topping |
The star of this dish, of course, is the fresh corn on the cob. Look for ears that are plump, with bright green husks and silky tassels. The butter will be your flavor carrier, so using good quality unsalted butter allows you to control the saltiness perfectly. Minced garlic provides a wonderful aromatic base, infusing the butter with its savory notes. Feel free to adjust the amount of garlic to your preference, but a good starting point is 3-4 cloves.
Step-by-Step Instructions
Follow these simple steps to create the most delicious Garlic Butter Corn on the Cob everyone will rave about.
Prepare the Corn
- Shuck the corn by pulling back the husks and removing all the silks. You can leave the husks on to help steam the corn or remove them entirely. If leaving husks on, you may want to soak the corn in water for about 30 minutes beforehand to prevent them from burning too quickly.
- Trim off any dry ends from the corn cobs.
Make the Garlic Butter
- In a small bowl, combine the softened unsalted butter, minced garlic, salt, and black pepper.
- Mix thoroughly with a fork until all ingredients are evenly distributed and you have a smooth, spreadable garlic butter.
Cook the Corn
- Preheat your grill to medium-high heat, or preheat your oven to 400°F (200°C).
- Grilling Method: Place the shucked corn directly on the hot grill grates. Grill for about 10-15 minutes, turning occasionally, until lightly charred and tender.
- Oven Method: Wrap each ear of corn tightly in aluminum foil. Place the foil-wrapped corn directly on the oven rack or on a baking sheet. Bake for 15-20 minutes, or until tender.
- Boiling Method: Bring a large pot of salted water to a boil. Add the shucked corn and boil for 5-7 minutes, or until tender. Drain well.
Assemble and Serve
- Once the corn is cooked and still warm, carefully spread a generous amount of the garlic butter over each ear. Use about 1-2 tablespoons per ear, or more if you like!
- If desired, sprinkle with fresh chopped parsley or chives and grated Parmesan cheese.
- Serve immediately while hot and buttery.
Granny Tips for Perfect Results
Here are a few of my little secrets for making your Garlic Butter Corn on the Cob absolutely delightful every time.
- Use Softened Butter: Make sure your butter is truly softened, not melted. This makes it easy to mix with the garlic and spread evenly on the warm corn without melting off too quickly.
- Don’t Skip the Seasoning: Salt and pepper are essential for enhancing the corn’s natural sweetness and balancing the richness of the butter. Taste your butter mixture before spreading it to ensure it’s seasoned just right.
- Adjust Garlic to Taste: If you’re a garlic lover, feel free to add an extra clove or two. If you prefer a milder flavor, start with just two cloves.
- Fresh Herbs Make a Difference: While optional, fresh parsley or chives add a beautiful pop of color and a fresh, herby note that complements the garlic and butter wonderfully.
- Serve Hot! This corn is best enjoyed immediately after the garlic butter has melted into the warm kernels. Don’t let it sit too long before serving.
- Corn Quality Matters: The fresher the corn, the sweeter and more tender it will be. Look for corn that’s in season for the best flavor.
Common Mistakes to Avoid
Even with a simple recipe like this, a few common pitfalls can be avoided for the best results.
- Mistake: Using hard butter. Hard butter won’t mix well with the garlic and seasonings, and it will melt off the corn too quickly instead of coating it. Fix: Ensure your butter is softened to room temperature before mixing.
- Mistake: Burning the garlic. If you try to cook the garlic in butter before adding it to the corn, you risk burning it, which creates a bitter taste. Fix: Use raw, minced garlic mixed into softened butter for this recipe.
- Mistake: Overcooking the corn. Overcooked corn can become tough and lose its sweetness. Fix: Cook the corn just until tender, paying attention to the cooking time and checking for doneness.
- Mistake: Not seasoning the butter enough. Bland butter means bland corn. Fix: Taste your garlic butter mixture and adjust the salt and pepper before you start spreading it on.
Variations and Substitutions
You can easily customize this Garlic Butter Corn on the Cob to suit your tastes or what you have on hand.
| Variation or Ingredient | Substitution | Result |
|---|---|---|
| Garlic | Garlic powder (1/2 teaspoon) | A quicker, though slightly less fresh, garlic flavor. |
| Unsalted butter | Margarine or a plant-based butter substitute | A dairy-free or vegan option, though flavor may vary. |
| Fresh herbs | Dried herbs (1 teaspoon total) | Use dried parsley, chives, or even a pinch of dill for a different flavor profile. |
| Parmesan cheese | Nutritional yeast (2 tablespoons) | A dairy-free and vegan alternative for a cheesy, umami flavor. |
| Spicy kick | Add a pinch of red pepper flakes to the garlic butter mixture | A subtle heat to complement the sweetness of the corn. |
Serving Suggestions and Pairings
Garlic Butter Corn on the Cob is a versatile side dish that pairs wonderfully with a variety of meals.
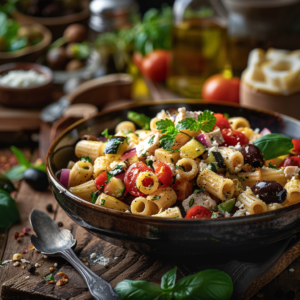
Serve this buttery corn hot off the grill or out of the oven. It’s a perfect companion for grilled steaks, chicken, or burgers at a summer barbecue. It also complements baked fish, roasted pork tenderloin, or a hearty pasta dish. For a lighter meal, it can be served alongside a fresh salad, such as an Easy Italian Antipasto Salad. A sprinkle of extra Parmesan cheese or fresh chives just before serving adds a final touch of elegance.
Storage and Reheating
Proper storage will help keep your leftover corn delicious.
| Method | Duration | Instructions |
|---|---|---|
| Refrigerator | 2-3 days | Store leftover corn in an airtight container or wrap tightly in plastic wrap. |
| Reheating | N/A | The best way to reheat corn is to gently warm it in a skillet with a little extra butter over low heat, or wrap it in foil and warm it in a 300°F (150°C) oven for about 10-15 minutes until heated through. Avoid microwaving if possible, as it can make the corn a bit rubbery. |
Nutritional Information
Approximate values will vary depending on ingredients, brands, and serving size.
| Nutrient | Amount per Serving |
|---|---|
| Calories | Approximately 150-180 kcal |
| Carbohydrates | Approximately 20-25g |
| Protein | Approximately 3-4g |
| Fat | Approximately 8-10g |
| Fiber | Approximately 3-4g |
| Sugar | Approximately 7-9g |
| Sodium | Approximately 250-350mg (depending on added salt) |
Frequently Asked Questions
Can I make this recipe ahead of time?
Yes, you can prepare the garlic butter mixture ahead of time and store it in the refrigerator for up to 3 days. You can also shuck the corn a day in advance. However, it’s best to cook the corn and assemble it with the butter just before serving for the freshest flavor and best texture.
Can I substitute one main ingredient?
You can certainly substitute the garlic with garlic powder if fresh garlic is unavailable, using about 1 teaspoon of powder for every 2-3 cloves of fresh garlic. For a dairy-free option, use a good quality plant-based butter substitute. While these substitutions work, the flavor profile might be slightly different from the original.
How do I know when it is ready?
The corn is ready when it is tender when pierced with a fork. For grilled corn, you’ll also see light char marks. For oven-baked corn wrapped in foil, the kernels should be plump and yielding. Cooked corn will also have a slightly brighter yellow hue than raw corn.
How should I store it?
Store any leftover Garlic Butter Corn on the Cob by wrapping the unbuttered portions tightly in plastic wrap or placing them in an airtight container in the refrigerator. It will keep for about 2 to 3 days. Try to use up any excess garlic butter separately as well, perhaps on toast or other vegetables.
Is this recipe good for everyday use?
This Garlic Butter Corn on the Cob is a wonderful, simple recipe that’s perfect for everyday family meals, especially during corn season. Its ease of preparation and comforting flavor profile make it a reliable and beloved side dish that can be enjoyed any night of the week. This recipe is meant for everyday comfort and is not a replacement for medical advice.
Conclusion
Garlic Butter Corn on the Cob is a testament to how simple, fresh ingredients can create incredibly satisfying meals. This easy, grandma-style recipe brings a comforting warmth and delicious flavor to your table with minimal effort. Whether you grill it, bake it, or boil it, the combination of sweet corn, rich butter, and savory garlic is a classic for a reason. Give this delightful Garlic Butter Corn on the Cob a try for your next family gathering or simple weeknight dinner!
Print
Garlic Butter Corn on the Cob: An Easy Grandma-Style Recipe
- Total Time: 30
- Yield: 6 servings 1x
- Diet: Vegetarian
Description
Savor the summery sweetness of fresh corn brushed with rich garlic butter in this simple, comforting side dish. Perfect for barbecues or family dinners, it highlights the natural flavor of corn with a delicious savory twist.
Ingredients
6 ears of fresh corn on the cob
1/2 cup (1 stick) unsalted butter, softened
3–4 cloves garlic, minced
1/2 teaspoon salt, or to taste
1/4 teaspoon black pepper, freshly ground, or to taste
Fresh parsley or chives, optional (for garnish)
Instructions
Preheat oven to 400°F (200°C). Pat the corn dry with a paper towel.
In a small bowl, mix softened butter with minced garlic, salt, and black pepper until well combined.
Wrap each ear of corn in aluminum foil to prevent sticking. Place on a baking sheet.
Use a small brush to apply the garlic butter mixture to the corn, covering the kernels evenly.
Bake for 15-20 minutes until the corn is tender and slightly charred.
Serve hot, garnished with fresh parsley or chives, if desired.
Notes
For a quicker option, grill the corn instead of baking. Simply brush with garlic butter and cook over medium heat for 10-15 minutes, turning occasionally.
If making ahead, prepare the butter mixture and store it in the fridge; apply just before cooking.
Use seasonal, fresh corn for the best flavor.
- Prep Time: 10
- Cook Time: 20
- Category: BBQ & Cookout
- Method: Oven
- Cuisine: American
Nutrition
- Serving Size: 1 ear of corn
- Calories: 90
- Sugar: 2g
- Sodium: 140mg
- Fat: 5g
- Saturated Fat: 3g
- Carbohydrates: 12g
- Fiber: 1g
- Protein: 2g
- Cholesterol: 5mg